Is Your Distillation System Leaking? Here’s How to Fix It
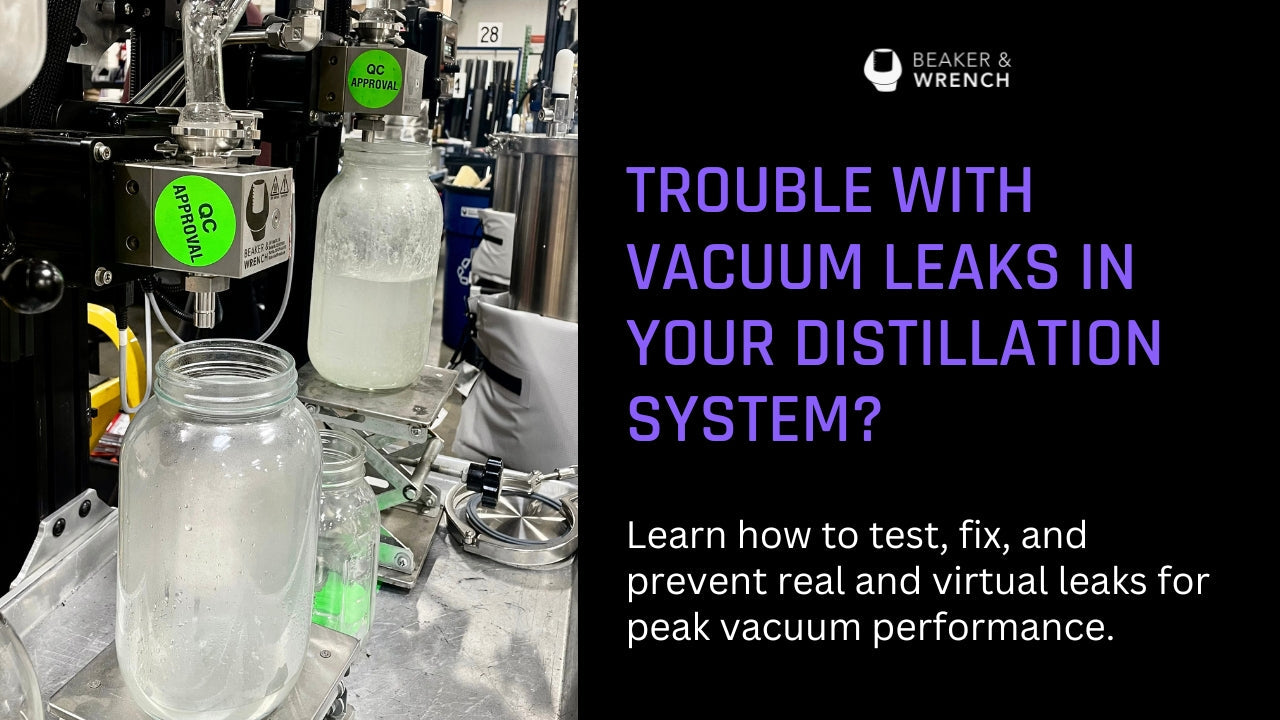
If your vacuum system isn’t performing right—resulting in slow distillation, poor purity, or inconsistent pressure—a leak could be the culprit. Let’s explore how to identify and fix leaks in your distillation system. You’ll learn about leak tests, how to distinguish between real and virtual leaks, and methods for ensuring a tight, efficient setup.
Why Vacuum Matters
Vacuum is an important parameter for any distillation process. A good vacuum allows for lower boiling points, faster distillation rates, and higher purity products. When your vacuum falters, your entire operation suffers. The vacuum is also one of the most sensitive to bad maintenance and design especially at the deep vacuum levels common to cannabinoid distillation
If you’re not achieving an optimal vacuum, it’s essential to diagnose and address the issue promptly. The most common problem is a leak. Left unchecked, leaks reduce efficiency, increase processing time, and compromise product quality.
Common Causes of Vacuum Leaks
Leaks often occur during reassembly or initial setup. Consider it like this: Forgetting grease on a joint, failing to tighten a nut, or misaligning fittings can create gaps that compromise the vacuum. If you’re building a machine and it’s not factory pre-tested, vacuum leaks are likely to occur as you build it. So, how do you find these leaks?
Identifying “Good” Vacuum
First, you need to understand what “good” vacuum means for your specific system. The acceptable vacuum level varies. It depends on the equipment you use.
For instance, consider a wiped film evaporator using a rotary vane vacuum pump. You expect it to reach sub-10 millitorr. If your system can’t achieve this level when clean and dry, there is a leak. A high-quality rotary vane pump is capable of reaching these low pressures. So, set your expectations accordingly and troubleshoot if performance lags.
For solvent recovery systems, a higher vacuum of 10 torr may be acceptable. Your standard should match the system requirements. Once you define “good,” you can test your system against that benchmark.
Performing a Basic DryTest
A basic dry test involves running your vacuum pump and observing the pressure. If the system reaches and maintains the expected vacuum level, it passes. Consider this your baseline test. It’s simple but effective.
But what if you want a more sensitive evaluation? That’s where the leak-up test comes in.
The Leak-Up Test
The leak-up test provides a more sensitive assessment of your system’s integrity. To perform this test, start by pulling the system down, as in the dry test, then closing the valve to your vacuum pump. This isolates the system. Now, monitor the pressure gauge.
The pressure in the system typically increases when you close the valve. The rate at which the pressure rises indicates the leak rate. A system should maintain a pressure increase of less than 1 millitorr per second. In other words, it should stay under 15 millitorr for 15 seconds.
Even with a tight system, some pressure increase is normal. Rubber seals, for example, diffuse gas at these vacuum levels. A leak rate in the single-digit millitorr per second range indicates a very tight system.
Virtual Leaks: The Hidden Culprit
Virtual leaks are a common and often misunderstood phenomenon. They are not true leaks, but result from contamination within the system.
Whenever a system is exposed to the atmosphere, humidity condenses on the internal surfaces. Under vacuum, this humidity evaporates, increasing the pressure. A system may take 10 to 30 minutes to reach the desired vacuum level and sustain a leak test.
Contaminants, such as residual ethanol, can also cause virtual leaks. If ethanol pools in a corner of the system, it will continuously evaporate, preventing you from passing a leak test. Virtual leaks require patience. You need to give them time to dissipate.
Identifying Virtual Leaks
There are several ways to identify a virtual leak. One obvious sign is a cold spot in the system.
- Cold Spots: If you find a cold spot or even ice on a hose, it indicates rapid evaporation of a volatile substance.
- Pressure Drop: A continuously, slowly decreasing pressure reading suggests a virtual leak. Unlike real leaks that plateau, virtual leaks show steady improvement, albeit slower than desired.
-
Leak-Up Test: Perform a leak-up test. A virtual leak will cause the pressure to rise quickly and then plateau. This is because the evaporating substance reaches its equilibrium vapor pressure.
Corrective Measures for Virtual Leaks
Addressing virtual leaks involves removing contaminants and ensuring the system is dry. For scientific-grade vacuum applications, baking components in an oven within a clean room is common. Doing so eliminates moisture and volatile substances before assembly.
While this level of rigor isn’t always practical, keeping your system dry is essential. Avoid spraying with ethanol and allow sufficient time for any residual moisture to evaporate. This can take anywhere from a few minutes to several hours, depending on the contaminant and its quantity.
Sometimes, a more direct approach is necessary. Consider our outlet pumps. The check valves can trap a few milliliters of liquid. These reservoirs can take hours to dry out and may contaminate the vacuum pump. Disassembling the check valves and emptying them can significantly shorten the drying period.
Addressing Real Leaks
Real leaks require a systematic approach to locate and repair. Like previously mentioned, begin by ensuring that you have a clear understanding of what constitutes a “good” vacuum for your system.
Perform the Wiggle Test
Before diving into extensive troubleshooting, perform a quick “wiggle test.” The “wiggle test”: This involves gently moving hoses, clamps, and connections to see if a loose or overtightened part causes a vacuum change. Some processors might assume that the solution is tightening a clamp or slathering the clamp with vacuum grease. These are not good practice, rarely solve the issue and excessive stress on a fitting can also contribute to a leak.
Check Alignment and Stress Points
Double check the alignment of all the components as well. If something is misaligned on your system, a leak can occur. If you find something is misaligned, take it apart, clean it, and put it back together, making adjustments to eliminate the stress. Apply a small amount of grease if needed.
Reminder: Grease is primarily for glass-to-glass or rubber-to-metal connections.
The Ethanol Test
Ethanol works well because it evaporates quickly and causes a rapid vacuum response, making it ideal for detecting leaks in the 10–100 millitorr range. Spray ethanol on a joint. If the vacuum gauge moves, that’s where your leak is. Remove the clamp to access the seal interface. Watch the gauge as you spray.
Methodical Elimination
If these tips don’t work, adopt a systematic approach. Break the system into smaller segments. Eliminate components progressively.
-
Eliminate suspect components: Cap off the feed pump, outlet pumps, and or any other component that is suspect.
-
Build the system up from scratch: Start with the vacuum pump. Connect the gauge directly to the pump. If the pump and gauge don’t achieve a good vacuum, the problem lies there. Fix this before blaming other parts of the system. Then add the vacuum manifold, cold trap, and the rest of the system incrementally, testing each additional section so when the issue appears you know where it's from.
By isolating each component, you pinpoint the leak source and eliminate guesswork. This methodical process requires caps of different sizes to blank off various parts of the system.
Final Thoughts
Finding and fixing vacuum leaks requires an understanding of your system. Know how to identify both real and virtual leaks. Take the time to run proper leak tests, know your system’s vacuum benchmark, and remember—solving leaks saves time, product, and sanity.


Leave a comment
All comments are moderated before being published.
This site is protected by hCaptcha and the hCaptcha Privacy Policy and Terms of Service apply.